Welcome to our blog!

May Community Academy's 5th and 6th grade students are fortunate to be recipients of a 1:1 iPad initiative. Please follow our journey!

Monday, November 21, 2011

QR Codes in Education

QR Codes are awesome!  To kick off the Shoe Project at MCA the students participated in a short QR code fact finding mission!  They were given a short introduction on what QR codes are and then allowed to try their own.  We hope to utilize them more throughout the project.  The presentation and a link to their assignment is below.


Link to Additional Resources for Educators: http://nicolezumpano.wikispaces.com/QRCodes


Students: what do you think of QR Codes?  Would you like to use them in more classes?  Have you seen them before?

Friday, November 18, 2011

Our Journey to iOS 5

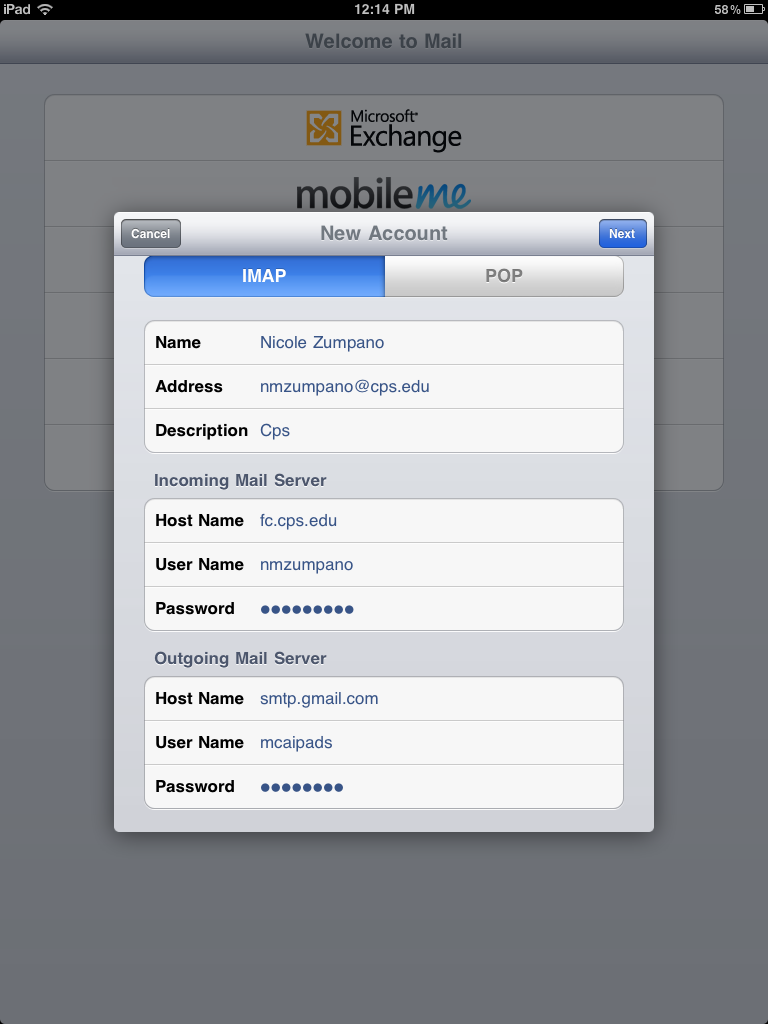
Apple has recently updated its operating system for the iPad.  Initially we were asked to hold off on the install for our iPads due to a conflict with a management app that CPS uses.  Recently they've lifted that restriction and given us the go ahead to proceed.  Needless to say....its taken more than a minute to begin to get the iPads upgraded.  Below are the step by step procedures I followed.  Hope it helps.

1.  Plug in your iPad to your MacBook and wait for iTunes to launch.  A message should appear saying that new software is available.  Click "update" to proceed.


2.  A new message will appear telling you that updating will backup and restore your apps, media, contacts, etc.  Again, click "update".  The first time you download the OS it will take over an hour.  After the initial download it should be (somewhat) quicker.  As this is taking place you'll see messages along the top saying the iPad is being prepared for restore.  Don't do anything else at this time.


3.  Next you will be asked to enter a password to unlock your iPad backup file. This is a password that you would have set up previously.  It is not necessarily the password to your iTunes account.  Select ok after entering the password and the iPad restore will begin.


4.  After the restore is complete iTunes will sync the iPad.  At this point I usually take a minute to make sure the amount of apps is correct and all of our iTunes U programs are up to date.

5.  At this point, eject the iPad from iTunes.

6.  When you open the iPad you'll see a grey screen that says "restore completed".  Press Continue.


7.  You'll see the prompt for "Location Services".  I chose to enable the location services.  Click next.


8.  You'll see on the next screen a prompt for the Wi-Fi Networks.  The CPS network should be selected.  Press next.


9.  The next screen is for the Apple ID.  Select "sign in with an Apple ID".  When you select this you'll be prompted to put in your Apple ID.


10.  Agree to Apple's terms and conditions next.


11.  Next its time to set up iCloud.  I chose to "use iCloud".  Select next.  You'll be prompted to merge your bookmarks from the iPad with iCloud.  I chose not to merge since there are 95 iPads on the same account.


12.  You'll be asked if you want to back up to iCloud or Back up to your computer.  I chose to back up to the computer.  Select next.


13.  At this point it's time to set up the "Find my iPad" feature. Select next.


14.  The next screen will ask if you would like to send diagnostic information automatically to Apple.  You can choose to automatically send or not to send.  Select next.

15.  Finally!!  The iPad is ready to use!  Click "Start Using iPad".

If you are part of CPS the fun isn't over.  Although all of my iPads are named, CPS has a naming convention that they want utilized.  The first letter is either I (for Instr) or A (for Admin). Next place the Oracle number of your school.  Place a T (for tablet).  After that the Asset Tag number.  Finally, if you would like to put something personal to your school in it goes at the end.  I have the cart number and iPad number on mine.  An example may look like this:  A12510T51542522_Cart01#2

When this step is complete you are done!!  Now in my case....94 iPads to go.....


Tuesday, November 15, 2011

I had the fortune to present our iPad initiative to a great group of people at the Illinois Education Technology Conference in Springfield on November 15th.  The presentation I've shown is below:


A link to the PDF handout is here: http://www.scribd.com/fullscreen/72806463?access_key=key-qhxgrl0efyt18o8dcwe

Wednesday, November 9, 2011

Linking First Class Accounts to the iPad Mail Icon


All students in grades 5-8 enrolled in Chicago Public Schools have access to the collaboration tool First Class which includes an email address for students to collaborate and communicate with other students and teachers within the system.  As we've continued down our journey of iPad integration in our 5th and 6th grade classrooms we've come to the conclusion that student emails needed to be linked to the mail app.  This is not an easy process.

Thanks to Ms. Kelly and Ms. Shea from Brownell School for walking us through the steps.  Here she is...in all her glory.

Step 1:  Before even attempting to configure the iPads a couple of things need to be in place.  To begin, each student needs to have an active First Class account.  CPS has started to deactivate accounts if they haven't been utilized in an extended period of time.  A call to Tech Excel to ask them to activate all school accounts was unsuccessful.  What was needed was an excel spreadsheet which contained the name, username, and I.D. for every student in 5th and 6th grade.  This took a minute to compile.  After it was complete the process involves calling Tech Excel to open a ticket.  When this is done I was instructed to send the excel spreadsheet to cpssdteamleads@cps.k12.il.us.

Step 2: While waiting for Tech Excel to make sure all accounts were active I proceeded to the next step.  I needed to create a new email account to serve as my "outgoing" mail server.  First Class won't work as the outgoing server (don't ask me why).  I set up a gmail account.  Its my understanding that all of the emails students send to others from their iPads will show up in this account.  This will help to cut down on the emails that may not be related to education.  All of the teachers involved in this initiative will have access to this account.

Step 3:  Begin by selecting the mail icon on your iPad.  You'll see a "Welcome to Mail" screen that gives you choices such as Microsoft Exchange, Gmail, Yahoo, Aol, etc.  I selected "other".

Step 4: The next screen asks for your name, email address, password, and description.  This is where the students would input their First Class information and select 'next'.


Step 5: The next screen should have "IMAP" highlighted in blue at the top.  The First Class information entered on the previous screen is already populated in the first section of this page.  For the Incoming Mail Server section enter fc.cps.edu.  You enter your First Class username and password as well.  For the Outgoing Mail Server you enter "smtp.gmail.com" (if Gmail is the email you set up).  Enter the username and password for that account.  Select next.  You'll see a "verifying" prompt at the top of the page.  This will take a few minutes.  A prompt may come up for IMAP that has the mail radio button 'on'.  Select 'save' to have the account added.  If you happen to get a pop up that says "Cannot Verify Server Setting" select "continue" and proceed.


Step 6: There is one final step to check.  After the account has been added click the Home button.  Click on Settings.  Select Mail, Contacts, Calendars.  Under "accounts" near the top select "Cps".  This will bring you to an IMAP screen.  Select Account to see the IMAP Account Information.  Select "Advanced".  Make sure SSL is turned on.  Happy iPad emailing!


Tuesday, November 1, 2011

One to Watch: Flashcardlet

Looking for a way to develop flashcards for your students to use on the iPad?  How about using flashcards that have already been created by someone else?  Flashcardlet is a free application that allows you to do those things easily.  This application allows users to create a front-and-back flashcard from scratch.  It allows you to copy or combine decks or to download (and modify) flashcard sets from Quizlet that were made by others or made by you (make sure you make your sets public for this to work).

If you are unfamiliar with Quizlet it is well worth a peek.  This free Web 2.0 tool has features where students can study flashcards, be tested online, play games to help with mastery, and allows a quiz to be custom designed (true/false, multiple choice, written, etc.).  All features of the site work on iPads.

If you would like to learn more about how to use Quizlet take a look at this tutorial (originally designed for Social Studies teachers).